Note: Some parameter combinations may lead to low quality of output files or conversion errors. Enjoy experimenting!
Open Preset Editor
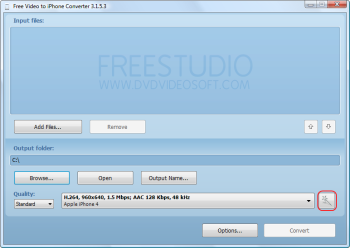
Click on the Corresponding Button in the Program to Open Preset Editor.
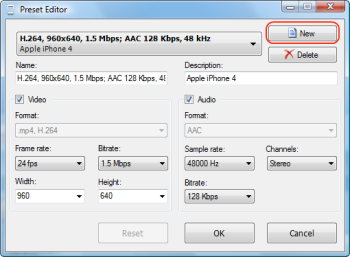
You can change any of the existing presets or create a completely new one.
If you want to modify preset, select it from the drop-down list.
To create a new preset click on the New button.
Note: All video and audio parameters that are modified immediately affect the preset name.
If the preset name is changed manually (or you switch to another preset or reopen the editor), this automatic synchronization is no longer fulfilled.
Define Name and Description
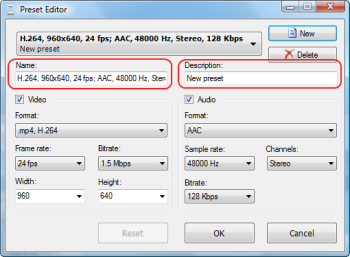
Put name and description of new preset in the corresponding fields or just modify the ones that are given. All applied changes are immediately displayed in combo box.
Define Video Configuration (excluding Free Audio Converter and Free Video to MP3 Converter)
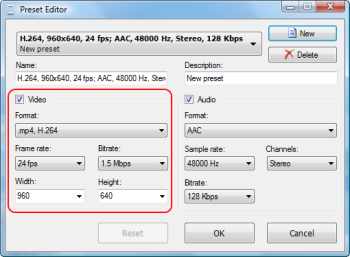
Choose the format of output video from the drop-down list. Define frame rate, bitrate, width and height of the video with the selected format.
Define Audio Configuration
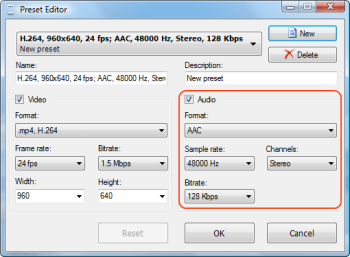
Choose the format of output audio from the drop-down list. Define sample rate, channels and bitrate.
Save Your Preset
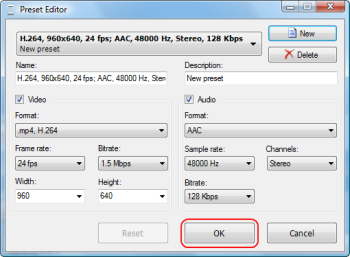
Press OK to save your preset.
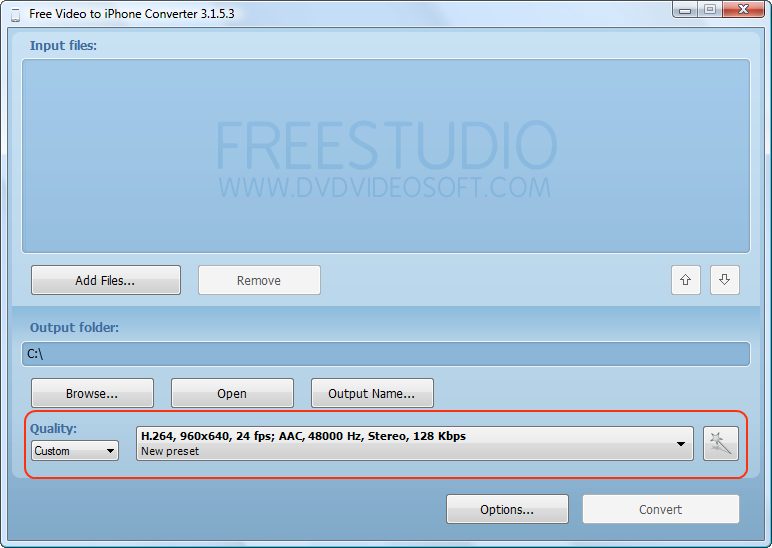
Note: you can find your new presets in Custom quality category.
For Free Audio Converter: new preset is placed into one of the existing format categories (MP3/WMA/OGG, etc.) depending on the new preset format.